

Building your own screen saver in Swift can be a tricky task since the template provided by Xcode wasn’t designed for it. Still, it’s far from being impossible.
Introduction
According to Quinn “The Eskimo!”, an Apple Staff Member on the Apple Developer Forums, it isn’t safe to create a screen saver in Swift since the current architecture uses an “NSBundle-style plugin”.
“The current screen saver architecture uses an NSBundle-style plug-in. It’s not safe to create such plug-ins in Swift unless you control all the plug-ins and the app loading those plug-ins.”
“Note that this does not apply to modern plug-ins, which are all app extensions. An app extension can be safely written in Swift because it runs in its own process.”
Because of this, screen savers written in Swift need to be bundled with the required Swift standard libraries into the application package. While this may lead to maintainability issues that need to be addressed in every Swift release, it didn’t stop the community from building screen savers written in Swift. As an example, you have both Aerial & Brooklyn.
There’s also hope that the promised ABI stability that is coming with Swift 5 tackles some of these problems.
What’s the goal?
You’ll be aiming to develop a screen saver written exclusively in Swift. Design-wise, it’ll be simple since this article isn’t about creating a fancy animation but instead, give you the tools needed to develop and create your own screen saver.
By the end of this article, you’ll achieve the following screen saver:
Setup
Like any other application, to develop a screen saver, you’ll have to start by creating a project in Xcode.
Xcode already has a screen saver template and you are going to use it to speed up this task. To do so, follow the next steps:
- Select
Create a new Xcode project; - Select the
macOStab; - Search for
Screen saverand select it; - Name it
SavingYourScreenand choose its location.
Following this, you’ll notice Xcode generated SavingYourScreen.m and SavingYourScreen.h. But since you are going to develop it in Swift you can safely delete these two files. Once deleted, create a Swift file named SaverView and Xcode will present the following prompt:
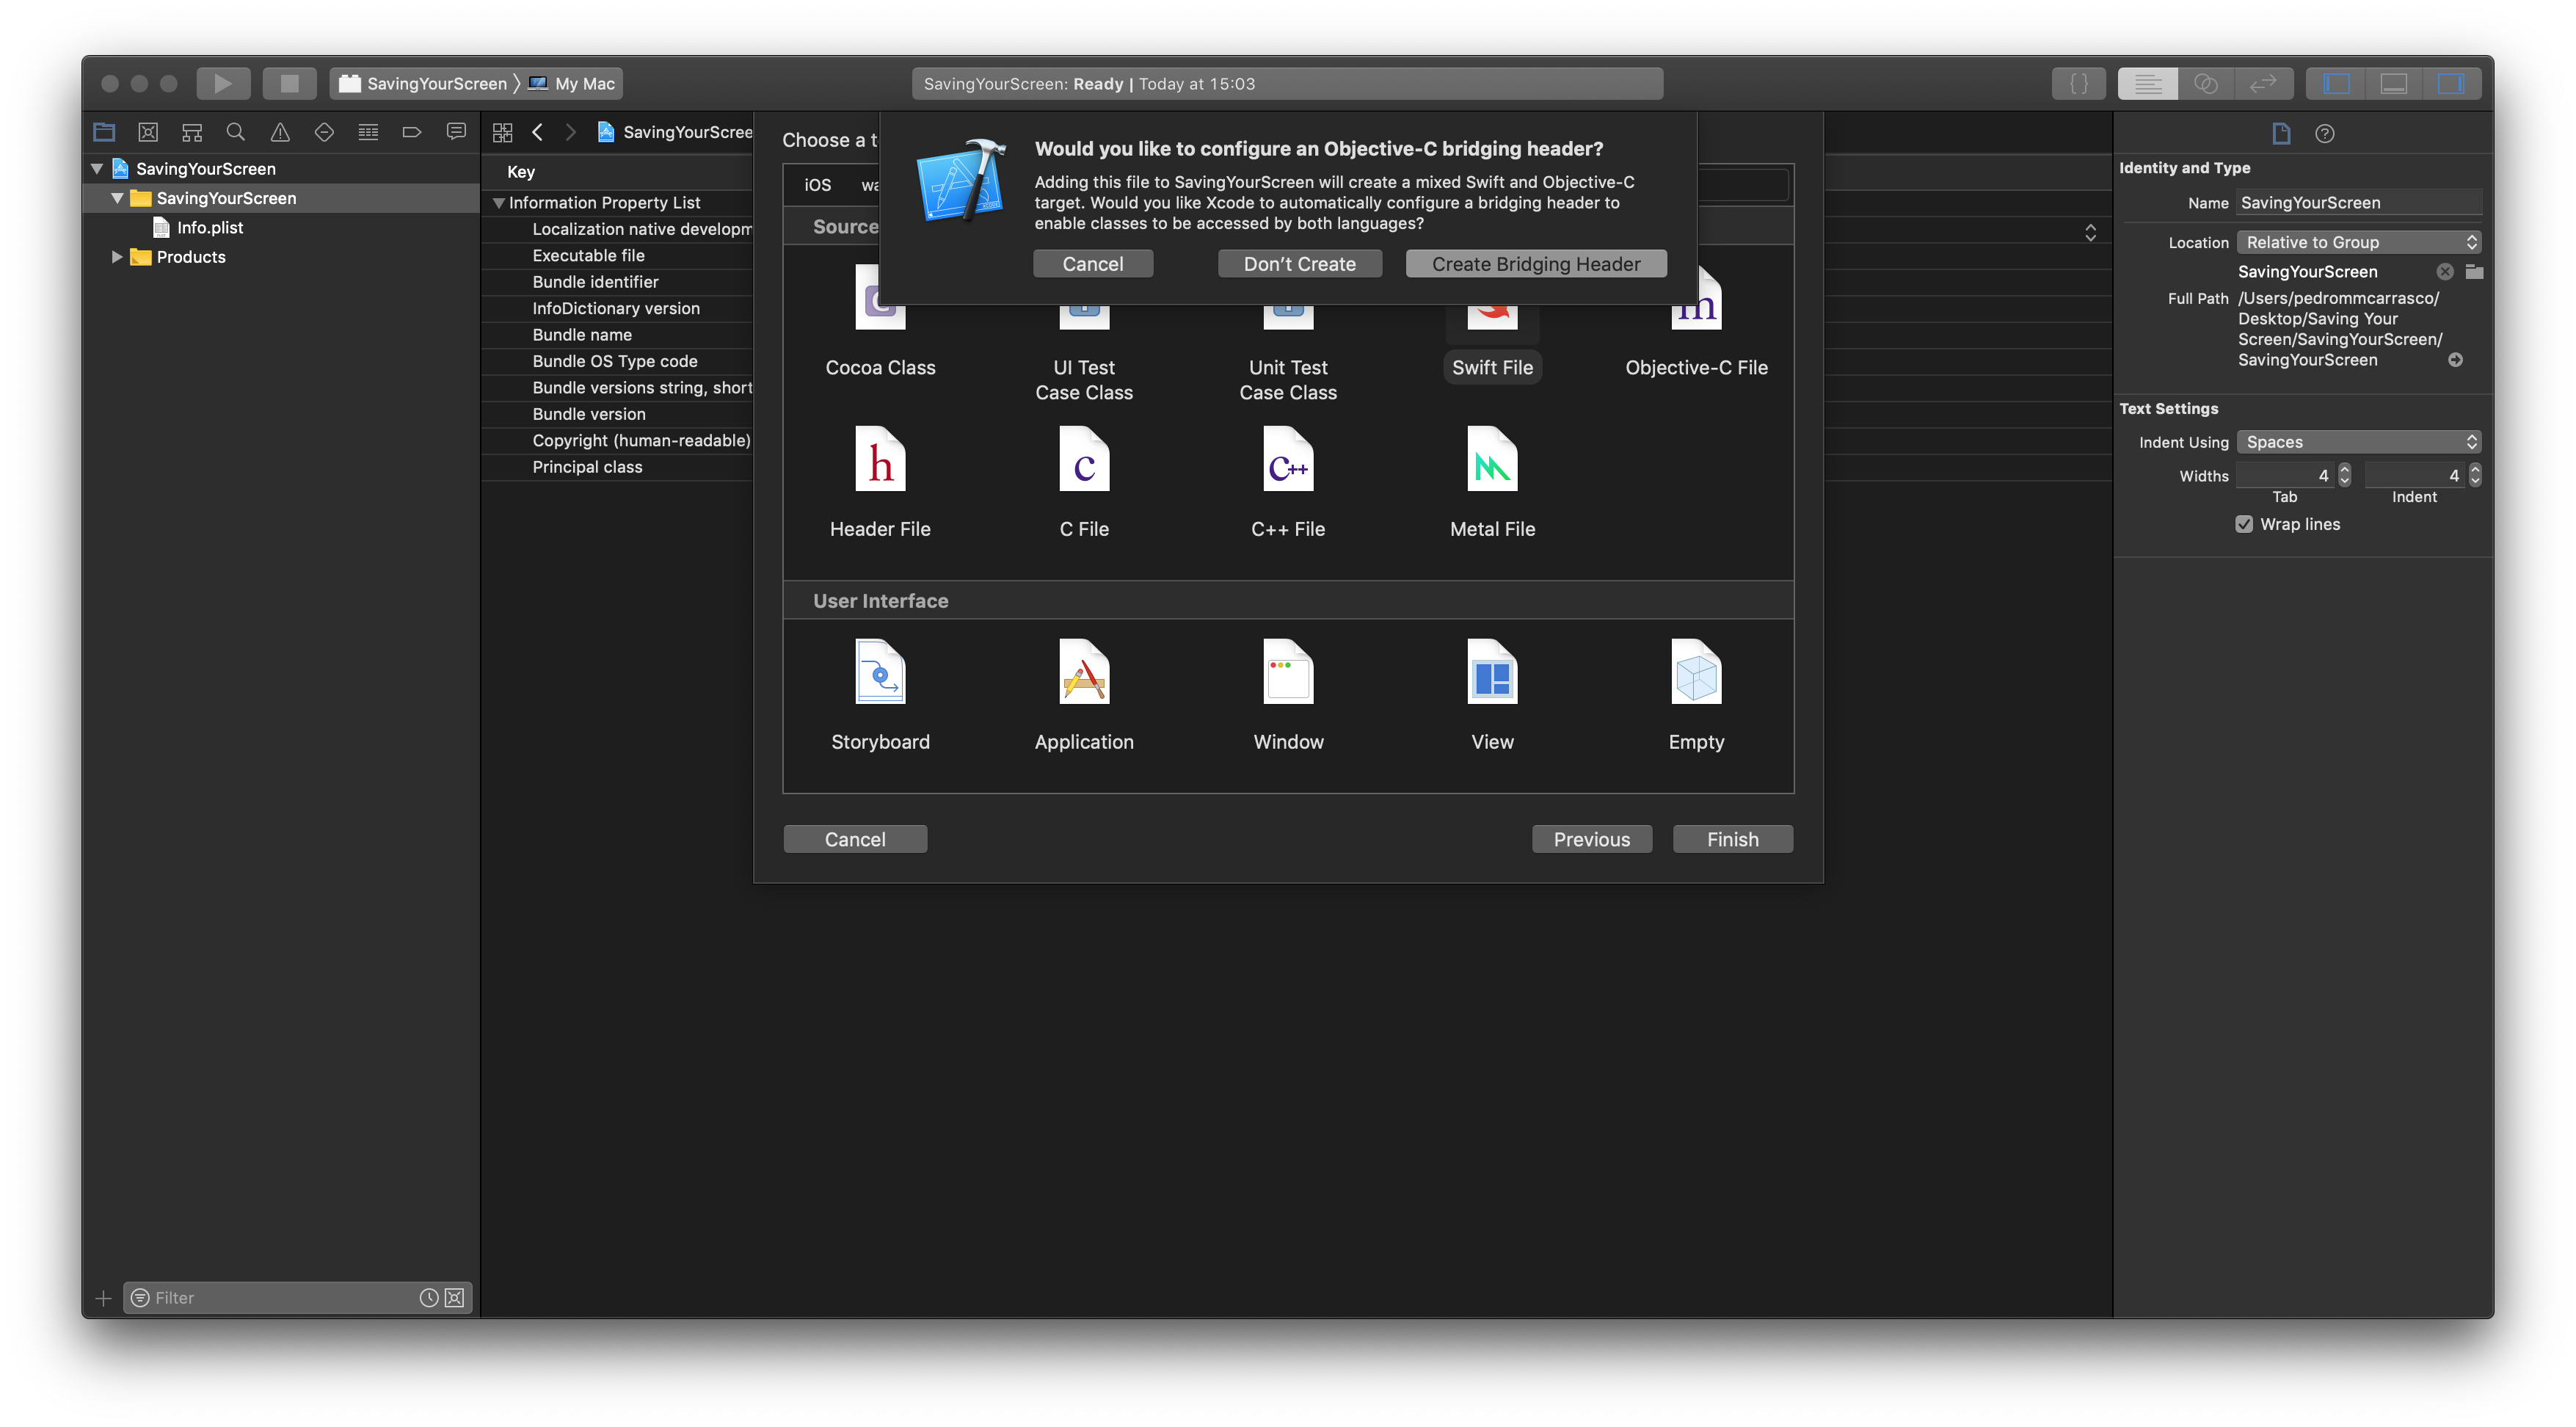
As you won’t work with Swift & Objective-C interoperability, just select Don't Create.
Coding that View
To start things off, import the ScreenSaver framework and subclass ScreenSaverView as follows:
With the skeleton ready, it is time to start working on the real implementation, starting by implementing the component required to display an emoji.
While in iOS you could use an UILabel by importing UIKit, in macOS you don’t have access to it. Instead, AppKit provides a component called NSTextField. Unfortunately, this component behaviour is very similar to its iOS counterpart, UITextField. This means, it supports interaction & typing, which you don’t want and in order to remove these functionalities, you’re going to subclass NSTextField as follows:
Now, create an instance of it in your view by adding the following code above your initialization methods:
Finally, implement addSubviews, defineConstraints and setupSubviews as follows:
Everything should look very familiar to you and in fact, it is! Most of the code until now could be used in iOS except for some minor differences between UIKit and AppKit.
However, you won’t be getting the result you are aiming for with it. While you’ve defined the layout for your view, you are still missing the random emojis changing every second.
Start by creating a String extension with the following method:
With it, you can easily retrieve an emoji but what about changing it every second? You could easily implement a timer but the ScreenSaverView has some tools under its belt. According to Apple’s documentation, it has the following methods:
startAnimation()- “Activates the periodic timer that animates the screen saver.”stopAnimation()- “Deactivates the timer that advances the animation.”animateOneFrame()- “Advances the screen saver’s animation by a single frame.”
These three methods together provide you a timer embed into ScreenSaverView’s life cycle. Both startAnimation() and stopAnimation are called automatically. To control the pace in which animateOneFrame() is triggered, you need to set the animationTimeInterval property. Since your goal is to show one emoji per second, you can safely define it with 1 inside your configure method. In short, this means that animateOneFrame() will be called every second.
In order to use it, start by adding the following method to your view. It will be responsible for updating the emoji presented on your screen:
Now, you just have to override animateOneFrame() and call updateContent() after super.animateOneFrame(). In the end, your view should look as follows:
Time to get your hands dirty
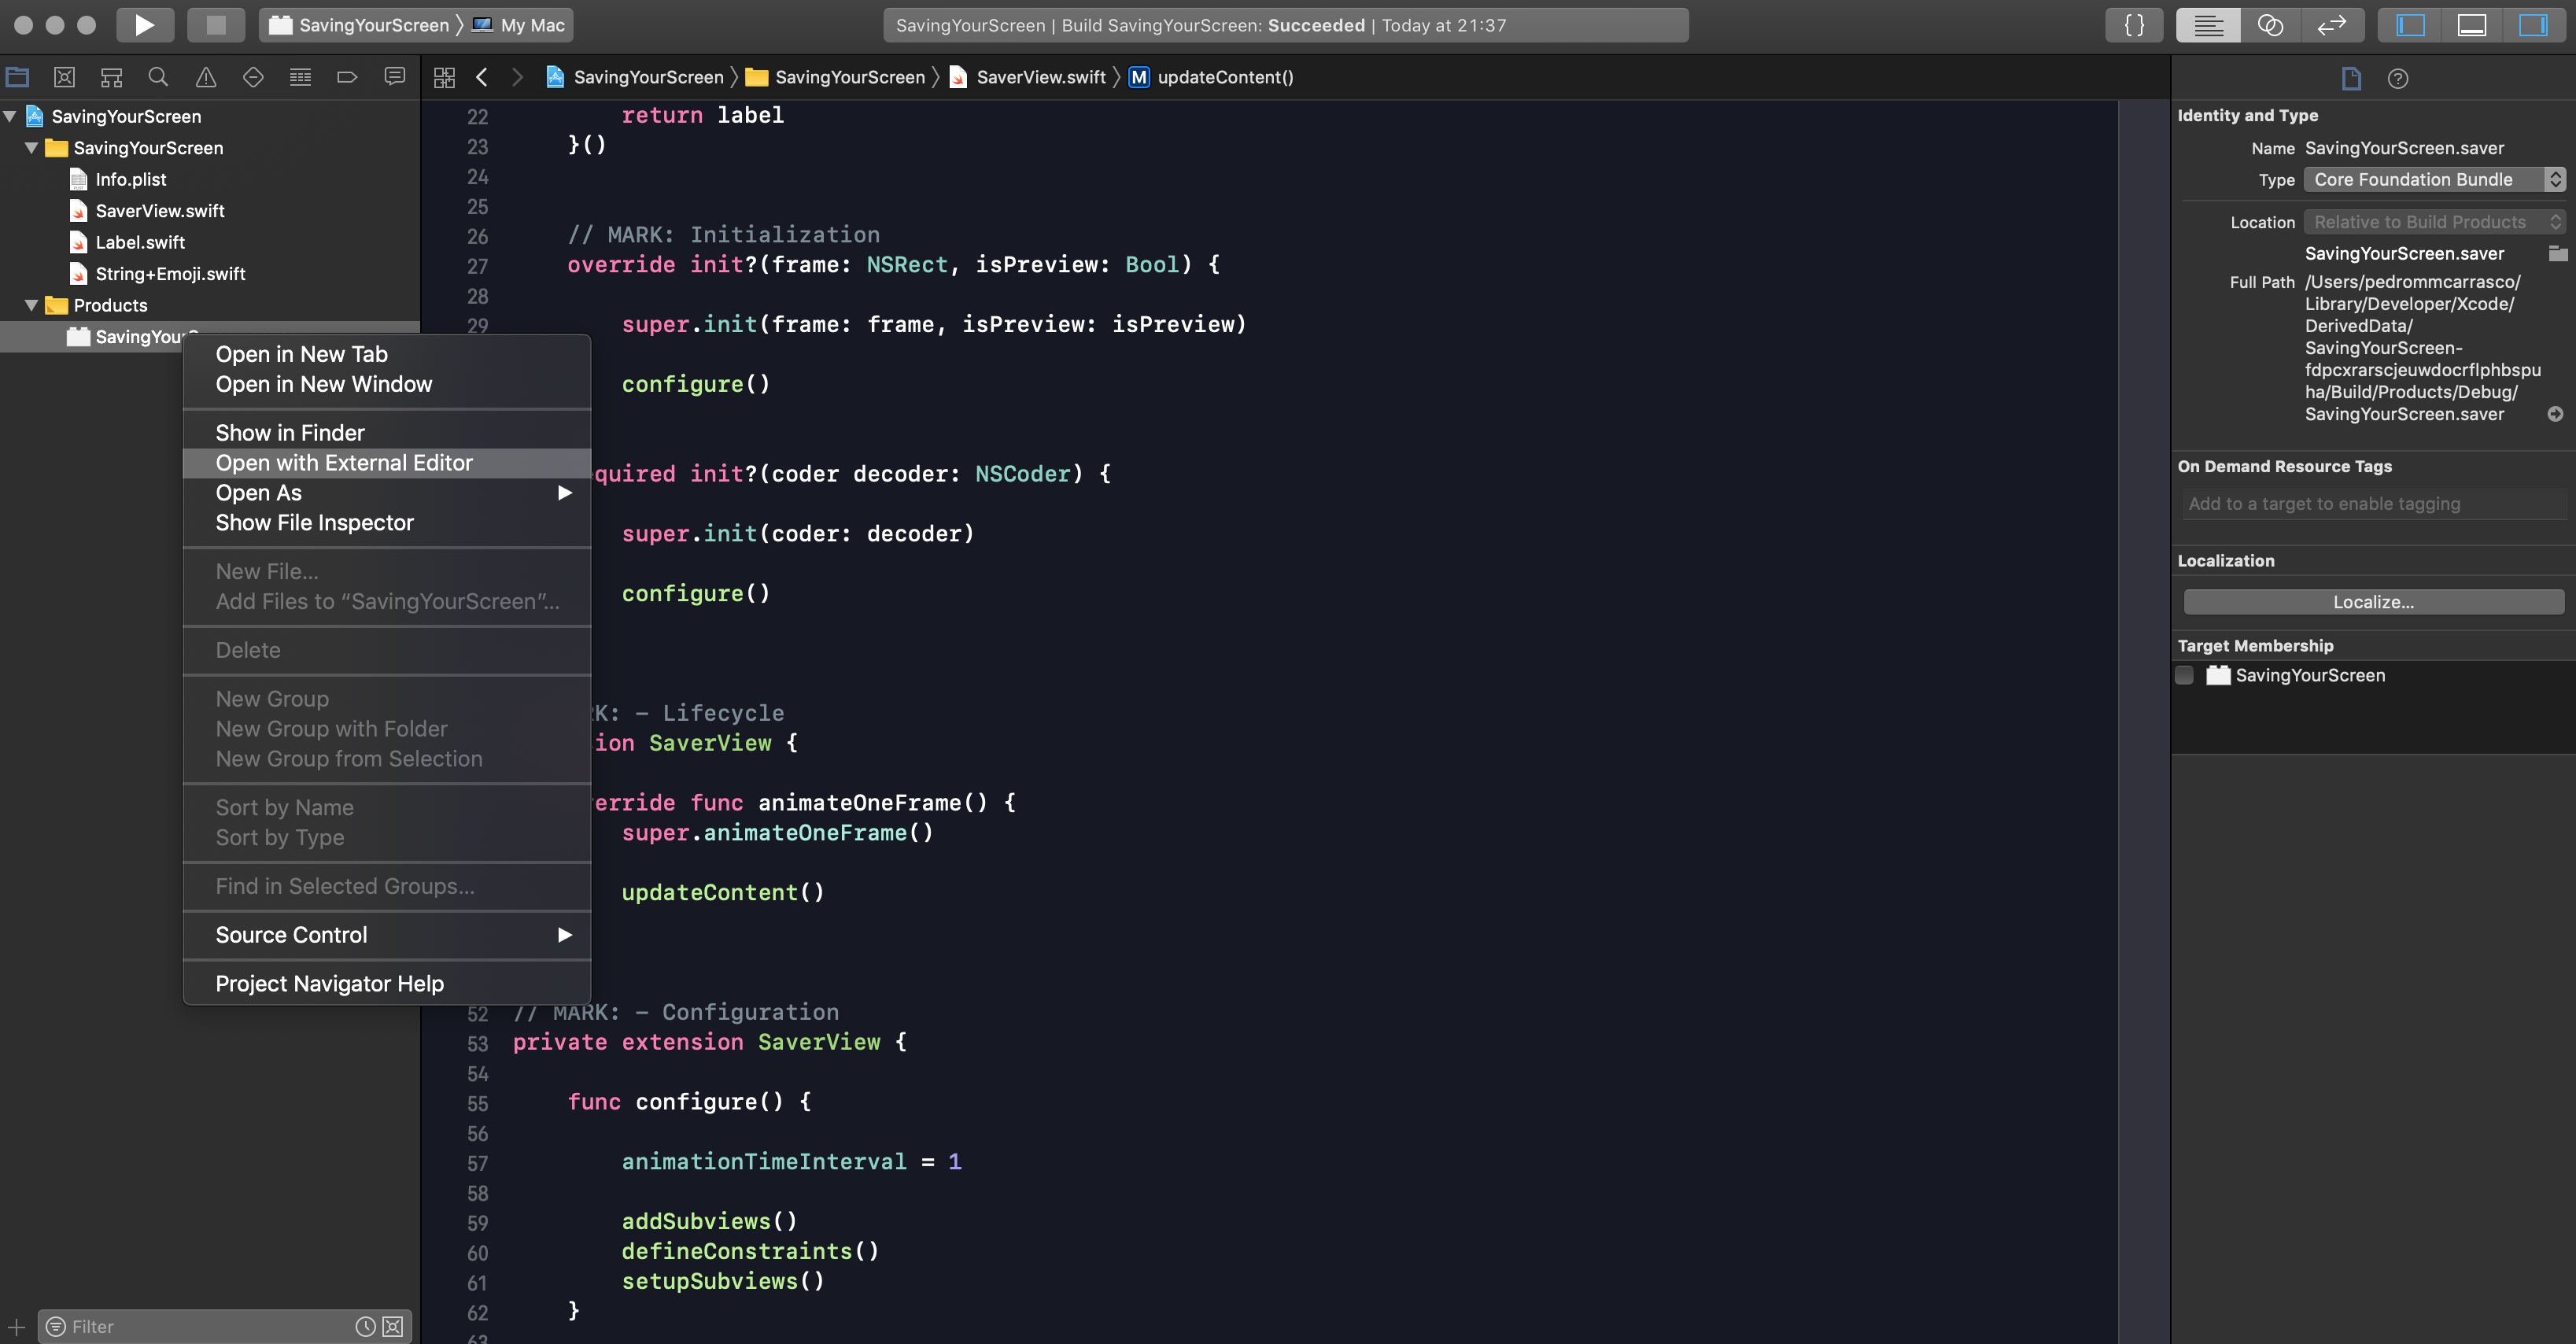
If you attempt to install it by building and opening the generated .saver (right-click & Open with External Editor as shown in the image below), you’ll notice that instead of seeing your screen saver you’ll face “You cannot use the SavingYourScreen screen saver with this version of macOS. Please contact the vendor to get a newer version of the screen saver.”
As mentioned earlier in this article, screen savers were meant to be written in Objective-C and its template is prepared according to it.
To solve this, start by going to your Info.plist and replace the value for Principal Class with SavingYourScreen.SaverView which corresponds to your target and view joined by a dot.
Now, go to the build settings of your project and change the value for Always Embed Swift Standard Libraries to YES. This will ensure that any of the required Swift standard libraries are also copied into your app bundle.
Conclusion
Although it isn’t recommended to create a screen saver in Swift, it isn’t difficult to go around it, you just need to keep maintaining it every time a Swift version gets released. ABI stability is promised to come with Swift 5 but in the meantime, you have all the tools needed to create your own screen saver.
Take into consideration that you have only scratched the surface when it comes to creativity & possibilities. This article introduces you to screen savers in Swift but you can go further and beyond by downloading resources from any service, draw custom shapes and the list goes on.
In the end, what’s your opinion of it? Have you ever tried to build a screen saver or was it something new to you? Let me know, alongside with your questions, by sending feedback on Twitter or here.
Last but not least, I would like to praise Ana Filipa Ferreira, Heitor Ferreira, João Pereira and José Figueiredo for their outstanding support. ❤️
Thanks for reading. ✨